
I did this project at work 2 months ago for a Pumpkin Decorating Kit. In this post, I'll show you the steps I took to create it!
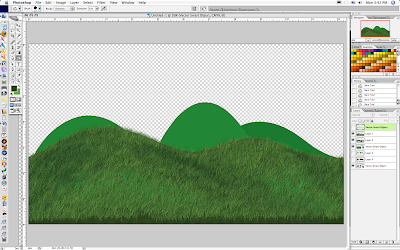
I started in Illustrator by drawing some hills. Then I dragged them over to Photoshop and covered them with a grass texture brush.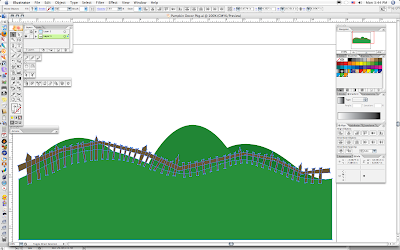
Went back to Illustrator and drew a creepy fence.
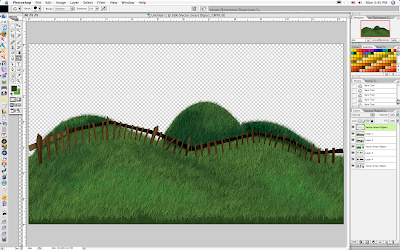
Dragged the fence back to my Photoshop file and gave it a wood texture. I also added some darker shadows to the hills in the back to give it depth.
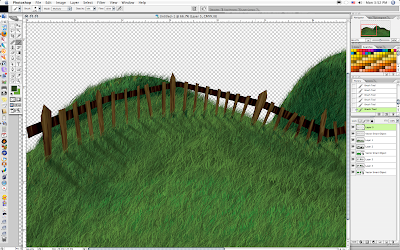
Also added some shadows to the fence to make it look more creepy.

Then I drew some tombstones in Illustrator in the spots I wanted them to be at and copy pasted them back to Photoshop so they would sit right where I wanted them.
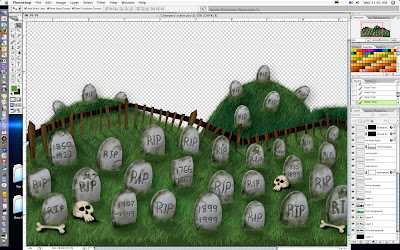
Now I was able to add all the creepy shadowing and dirty look to the tombstones.. I even added a skull and bones which i also drew in Illustrator first.
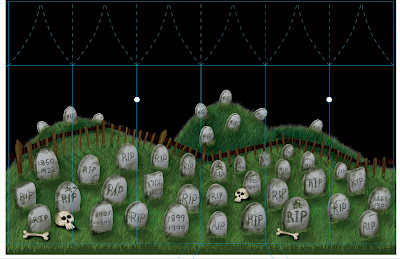
So now that I liked the way everything looked in Photoshop, I brought that file into Illustrator to figure out where the box dielines will fall on the artwork, and so I can figure out where the characters will be on which panels of the box.
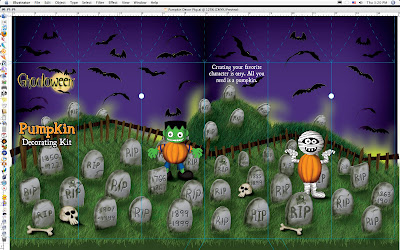
I took these characters (which were created by another co-worker of mine) and placed them back in my Photoshop file in the spot on the graveyard where they would fall on the right panels. Then in Illustrator I put the title and logo (I created the logo a few years ago).
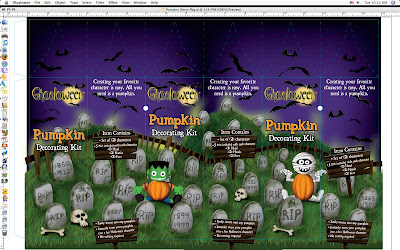
So after I submitted what I had done, I had to do revisions where the characters had to look like they're sitting and had to add bullet points and repeat everything on every other panel.
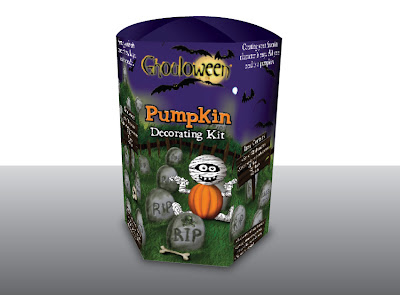
Here's a 3D rendering of the final box!
No comments:
Post a Comment